Generating images in VIGPT: from prompt to result
Image generation in VIGPT starts from text. This guide shows how to switch to image mode, write a good prompt, pick an aspect ratio, get up to 4 images, and adjust the advanced parameters on Max.
 VIGPT Team4 min read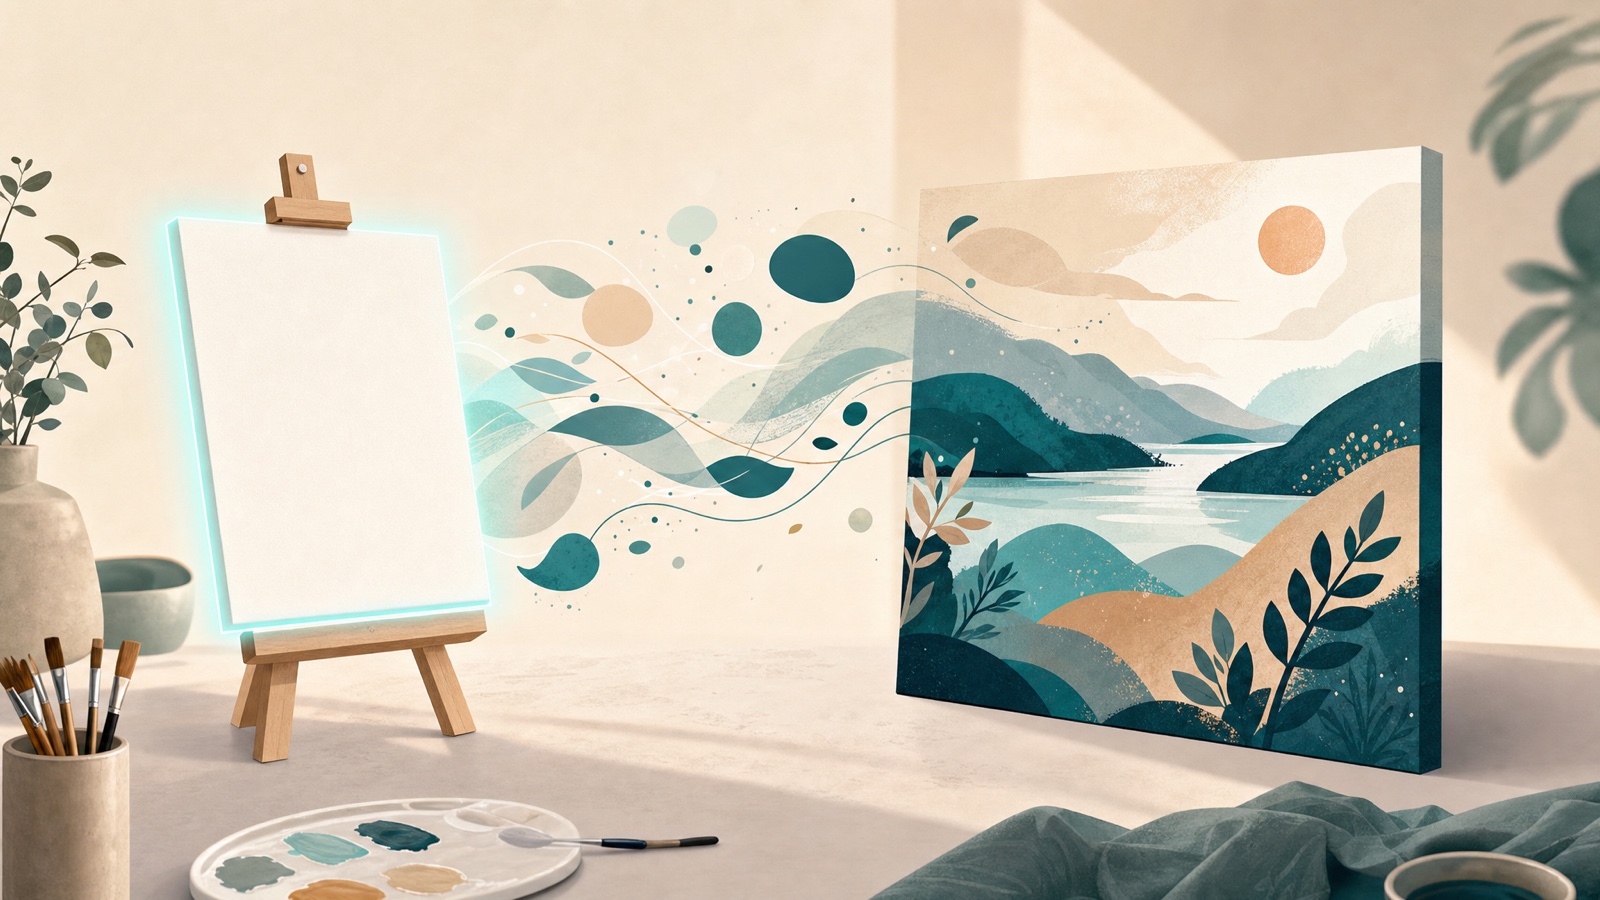
On this page
Image generation in VIGPT lives right where you write your chat: you give it text and get an image back. The quality of the result depends, more than anything, on what you write and how you set a few simple options.
Image generation is part of the paid plans, available on Standard and above. It's locked on the free plan. (The plan details here are correct at the time of writing; for the latest, see pricing.)
Switching to image mode
In the message bar, open the modes menu and choose image generation. From then on, what you write is the description of the image you want, rather than a question.
You don't always have to do this yourself. If you're on Auto and ask for something that's clearly an image, VIGPT moves your text into image mode and tells you: "switched to image generation — review and send."
Before it builds, a review card appears: you see the description and the settings, and pressing generate creates it. There's no room for surprises — what gets made is what you approved.
Writing a good prompt
"A cat" works, but you'll get a random cat. The more specific the description, the closer the result is to what you had in mind. A good prompt usually makes three things clear:
- Subject: what's in the image and what it's doing. "An orange cat sleeping by a window."
- Style: photography, watercolor, illustration, 3D, minimal. If you don't say, the model picks one.
- Composition and light: close-up or wide, angle, morning or sunset light, a plain or busy background.
A fuller example: "close-up photo of a coffee cup on a wooden table, soft window light from the left, blurred background, calm morning mood."
You don't have to get everything right in one go. Generate the image, see where it differs from your idea, and sharpen the prompt a little. A few short back-and-forths usually beat one long, complicated prompt.
When unwanted text appears in the image
A common problem is that the model puts text or a garbled sign in the image without you asking. Two simple things help:
- Say plainly in the prompt that you don't want text — for example, "no text or letters."
- On Max, with compatible models, Media Studio has a no text option that stops the model from rendering any writing. If that option shows for the model you're using and text keeps coming back, turn it on.
Choosing an aspect ratio
Before you generate, pick the aspect ratio so the output fits where it'll be used:
- 1:1 (square) for profile pictures and social posts.
- 16:9 (landscape) for banners, cover images, and a cinematic frame.
- 9:16 (portrait) for stories and viewing on mobile.
Other ratios like 4:3 and 3:4 are available too. If you're not sure, square is a safe choice, and you can regenerate in another ratio later.
Up to 4 images per request
You can get up to 4 images per request. This is useful when your prompt has several valid interpretations and you want to pick the best — a logo, say, or a scene whose composition you haven't settled yet.
To find the overall direction, generate a few and pick one. Once you're close to what you want, go back to a single image and fine-tune the prompt.
Media Studio (Max only)
If you have the Max plan, more controls open up in Media Studio. Here you can tune each image more precisely:
- Quality — from auto to low, medium, and high. Higher is sharper but takes more time and credit.
- Output format — PNG, which keeps transparency, or JPEG, which is lighter.
- Compression — trades file size against quality.
- Background — solid or transparent; transparent is handy for logos and stickers.
- Content moderation — how strict the safety filter is on the output.
The important thing is that you can leave any option on auto, in which case the model decides. You don't have to touch every setting — change only the ones that matter to you.
Media Studio is Max-only. On Standard and Pro you can generate images, but these fine controls don't open up.
Let Auto pick the model
Not every model generates images. The simplest approach is to stay on Auto; when you make an image request, Auto picks a model that can do it.
If you've pinned a model that can't generate images, VIGPT creates the image using Auto and tells you your pinned model is unchanged. So your request doesn't get stuck, and the model choice for the rest of the conversation stays intact.
In short
Switch to image mode, write the subject, style, and composition clearly, pick an aspect ratio to match where it'll be used, and generate a few images to choose the best. If you have Max, Media Studio gives you finer control — and any option you leave alone, the model decides for itself.
Related posts
- Guides
The complete newcomer's guide to VIGPT
New to VIGPT? This guide takes you from signing in to your first useful tasks in a few minutes — plain, no jargon.
2 min read - Guides
Compare several models on the same question
Most of the time, Auto's pick is the answer. But for judgment calls and high-stakes work, it's worth putting the same question to a few models. Here's when that pays off and how to do it.
4 min read - Guides
Getting started with video generation in VIGPT
Video generation in VIGPT is a Pro and Max feature. This guide shows how to switch to video mode, what to write, how to pick the aspect ratio and duration, and how to get the result, which arrives asynchronously.
4 min read